Phoenix LiveView recently released a new feature called “hooks” that introduces Javascript interoperability into the LiveView lifecycle. Put simply, we can now run arbitrary Javascript every time a DOM node is changed by LiveView! LiveView hooks are a complete game changer, and open the doors to a whole new world of applications that can be built with this amazing technology.
As a proof of concept, let’s use LiveView hooks to animate an HTML5 canvas in real time using data provided by the server!
Getting Set Up
To keep this article short(er), we’ll skip the rigmarole of configuring your application to use LiveView. If you need help with this step, I highly recommend you check out Sophie DeBenedetto’s thorough walkthrough. Be sure to cross reference with the official documentation, as things are moving quickly in the LiveView world.
Moving forward, let’s assume that you have a bare-bones LiveView component attached to a route that looks something like this:
defmodule LiveCanvasWeb.PageLive do
  use Phoenix.LiveView

  def render(assigns) do
    ~L"""
    <canvas>
      Canvas is not supported!
    </canvas>
    """
  end

  def mount(_session, socket) do
    {:ok, socket}
  end
end
We’ll also assume that your assets/js/app.js file is creating a LiveView connection:
import LiveSocket from "phoenix_live_view";

let liveSocket = new LiveSocket("/live");

liveSocket.connect();
Now that we’re on the same page, let’s get started!
Generating Data to Animate
Before we start animating on the client, we should have some data to animate. We’ll start by storing a numeric value called i in our LiveView process’ assigns:
def mount(_session, socket) do
  {:ok, assign(socket, :i, 0)}
end
Next, we’ll increase i by instructing our LiveView process to send an :update message to itself after a delay of 16 milliseconds:
def mount(_session, socket) do
  Process.send_after(self(), :update, 16)
  {:ok, assign(socket, :i, 0)}
end
When we handle the :udpate message in our process, we’ll schedule another recursive call to :update and increment the value of i in our socket’s assigns:
def handle_info(:update, %{assigns: %{i: i}} = socket) do
  Process.send_after(self(), :update, 16)
  {:noreply, assign(socket, :i, i + 0.05)}
end
Our LiveView process now has an i value that’s slowly increasing by 0.05 approximately sixty times per second.
Now that we have some data to animate, let’s add a canvas to our LiveView’s template to hold our animation:
def render(assigns) do
  ~L"""
  <canvas data-i="<%= @i %>">
    Canvas is not supported!
  </canvas>
  """
end
Notice that we’re associating the value of i with our canvas by assigning it to a data attribute on the DOM element. Every time i changes in our process’ state, LiveView will update our canvas and set the value of data-i to the new value of i.
This is great, but to render an animation in our canvas, we need some way of executing client-side Javascript every time our canvas updates. Thankfully, LiveView’s new hook functionality lets us do exactly that!
Hooking Into LiveView
LiveView hooks lets us execute Javascript at various points in a DOM node’s lifecycle, such as when the node is first mounted, when it’s updated by LiveView, when it’s destroyed and removed from the DOM, and when it becomes disconnected or reconnected to our Phoenix server.
To hook into LiveView’s client-side lifecycle, we need to create a set of hooks and pass them into our LiveSocket constructor. Let’s create a hook that initializes our canvas’ rendering context when the element mounts, and renders a static circle every time the element updates:
let hooks = {
  canvas: {
    mounted() {
      let canvas = this.el;
      let context = canvas.getContext("2d");

      Object.assign(this, { canvas, context });
    },
    updated() {
      let { canvas, context } = this;

      let halfHeight = canvas.height / 2;
      let halfWidth = canvas.width / 2;
      let smallerHalf = Math.min(halfHeight, halfWidth);

      context.clearRect(0, 0, canvas.width, canvas.height);
      context.fillStyle = "rgba(128, 0, 255, 1)";
      context.beginPath();
      context.arc(
        halfWidth,
        halfHeight,
        smallerHalf / 16,
        0,
        2 * Math.PI
      );
      context.fill();
    }
  }
};

let liveSocket = new LiveSocket("/live", { hooks });

liveSocket.connect();
Notice that we’re storing a reference to our canvas and our newly created rendering context on this. When LiveView calls our lifecycle callbacks, this points to an instance of a ViewHook class. A ViewHook instance holds references to our provided lifecycle methods, a reference to the current DOM node in el, and various other pieces of data related to the current set of hooks. As long as we’re careful and we don’t overwrite these fields, we’re safe to store our own data in this.
Next, we need to instruct LiveView to attach this new set of canvas hooks to our canvas DOM element. We can do that with the phx-hook attribute:
<canvas
  data-i="<%= @i %>"
  phx-hook="canvas"
>
  Canvas is not supported!
</canvas>
When our page reloads, we should see our circle rendered gloriously in the center of our canvas.
Resizing the Canvas
On some displays, our glorious circle may appear to be fuzzy or distorted. This can be fixed by scaling our canvas to match the pixel density of our display. While we’re at it, we might want to resize our canvas to fill the entire available window space.

We can accomplish both of these in our mounted callback:
mounted() {
  let canvas = this.el;
  let context = canvas.getContext("2d");
  let ratio = getPixelRatio(context);

  resize(canvas, ratio);

  Object.assign(this, { canvas, context });
}
Where getPixelRatio is a helper function that determines the ratio of physical pixels in the current device’s screen to “CSS pixels” which are used within the rendering context of our canvas:
const getPixelRatio = context => {
  var backingStore =
    context.backingStorePixelRatio ||
    context.webkitBackingStorePixelRatio ||
    context.mozBackingStorePixelRatio ||
    context.msBackingStorePixelRatio ||
    context.oBackingStorePixelRatio ||
    context.backingStorePixelRatio ||
    1;

  return (window.devicePixelRatio || 1) / backingStore;
};
And resize is a helper function that modifies the canvas’ width and height attributes in order to resize our canvas to fit the current window, while fixing any pixel density issues we may be experiencing:
const resize = (canvas, ratio) => {
  canvas.width = window.innerWidth * ratio;
  canvas.height = window.innerHeight * ratio;
  canvas.style.width = `${window.innerWidth}px`;
  canvas.style.height = `${window.innerHeight}px`;
};
Unfortunately, our canvas doesn’t seem to be able to hold onto these changes. Subsequent calls to our updated callback seem to lose our resize changes, and the canvas reverts back to its original, blurry self. This is because when LiveView updates our canvas DOM node, it resets our width and height attributes. Not only does this revert our pixel density fix, it also forcefully clears the canvas’ rendering context.
LiveView has a quick fix for getting around this problem. By setting phx-update to "ignore" on our canvas element, we can instruct LiveView to leave our canvas element alone after its initial mount.
<canvas
  data-i="<%= @i %>"
  phx-hook="canvas"
  phx-update="ignore"
>
  Canvas is not supported!
</canvas>
Now our circle should be rendered crisply in the center of our screen.

Animating Our Circle
We didn’t go all this way to render a static circle in our canvas. Let’s tie everything together and animate our circle based on the ever-changing values of i provided by the server!
The first thing we’ll need to do is update our updated callback to grab the current value of the data-i attribute:
let i = JSON.parse(canvas.dataset.i);
The value of canvas.dataset.i will reflect the contents of our data-i attribute. All data attributes are stored as strings, so a call to JSON.parse will convert a value of "0.05" to its numeric counterpart.
Next, we can update our rendering code to move our circle based on the value of i:
context.arc(
  halfWidth + (Math.cos(i) * smallerHalf) / 2,
  halfHeight + (Math.sin(i) * smallerHalf) / 2,
  smallerHalf / 16,
  0,
  2 * Math.PI
);
That’s it! With those two changes, our circle will rotate around the center of our canvas based entirely on real-time data provided by our server!

Requesting Animation Frames
Our solution works, but by forcing re-renders on the browser, we’re being bad net citizens. Our client may be forcing re-renders when its tab is out of focus, or it may be re-rendering more than sixty times per second, wasting CPU cycles.
Instead of telling the browser to re-render our canvas on every LiveView update, we should invert our control over rendering and request an animation frame from the browser on every update.
The process for this is straight forward. In our updated callback, we’ll wrap our rendering code in a lambda passed into requestAnimationFrame. We’ll save the resulting request reference to this.animationFrameRequest:
this.animationFrameRequest = requestAnimationFrame(() => {
  context.clearRect(0, 0, canvas.width, canvas.height);
  context.beginPath();
  context.arc(
    halfWidth + (Math.cos(i) * smallerHalf) / 2,
    halfHeight + (Math.sin(i) * smallerHalf) / 2,
    smallerHalf / 16,
    0,
    2 * Math.PI
  );
  context.fill();
});
It’s conceivable that our LiveView component may update multiple times before our browser is ready to re-render our canvas. In those situations, we’ll need to cancel any previously requested animation frames, and re-request a new frame. We can do this by placing a guard just above our call to requestAnimationFrame:
if (this.animationFrameRequest) {
  cancelAnimationFrame(this.animationFrameRequest);
}
With those two changes, our LiveView hooks will now politely request animation frames from the browser, resulting in a smoother experience for everyone involved.
Taking it Further
Using a canvas to animate a numeric value updated in real-time by a LiveView process running on the server demonstrates the huge potential power of LiveView hooks, but it’s not much to look at.
We can take things further by generating and animating a much larger set of data on the server. Check out this example project that simulates over two hundred simple particles, and renders them on the client at approximately sixty frames per second:
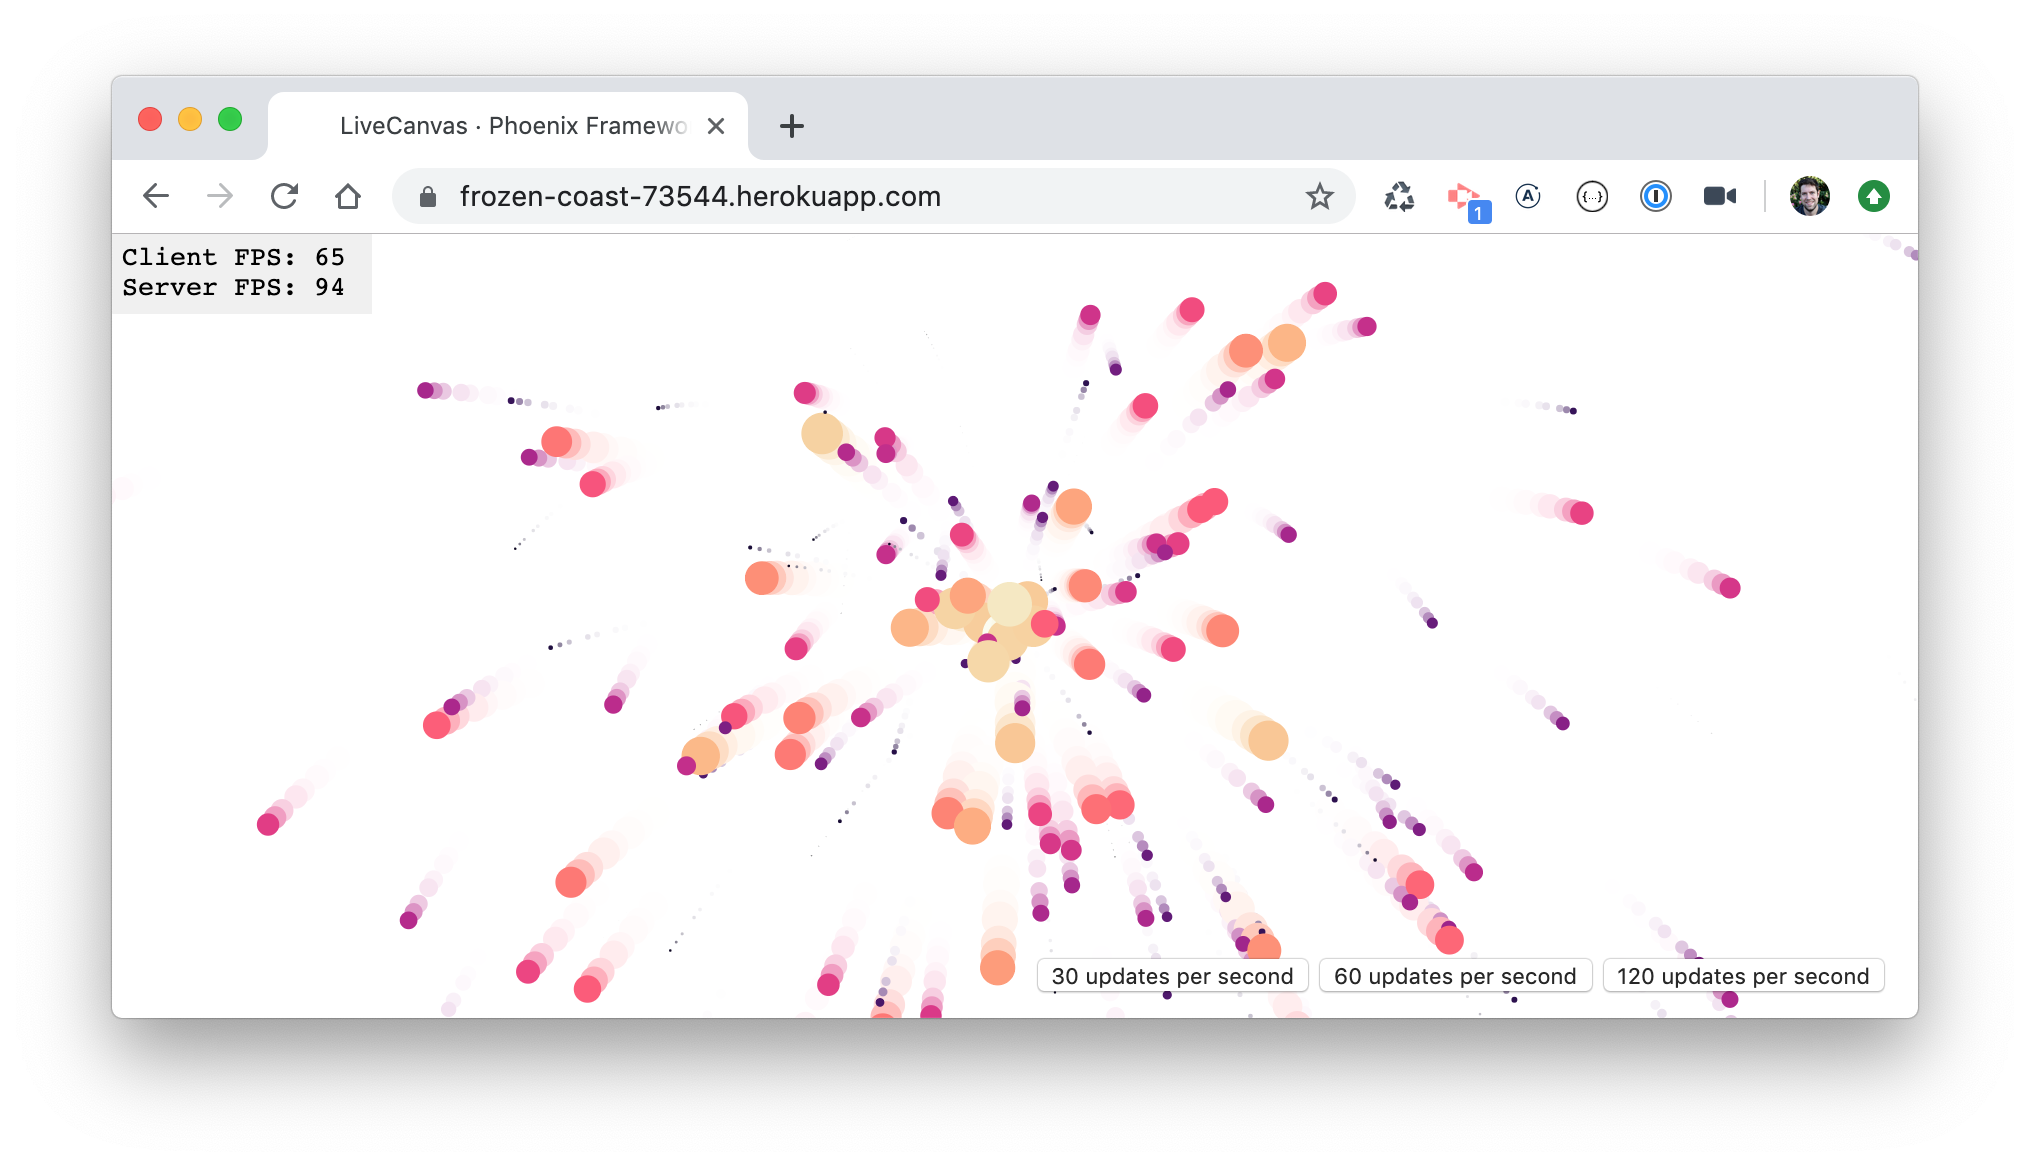
Is it a good idea to take this approach if your goal is to animate a bunch of particles on the client? Probably not. Is it amazing that LiveView gives us the tools to do this? Absolutely, yes! Be sure to check out the entire source for this example on Github!
Hooks have opened the doors to a world of new possibilities for LiveView-based applications. I hope this demonstration has given you a taste of those possibilities, and I hope you’re as eager as I am to explore what we can do with LiveView moving forward.
Update: 9/30/2019
The technique of using both phx-hook and phx-update="ignore" on a single component no longer works as of phoenix_live_view version 0.2.0. The "ignore" update rule causes our hook’s updated callback to not be called with updates.
Joxy pointed this issue out to me, and helped me come up with a workaround. The solution we landed on is to wrap our canvas component in another DOM element, like a div. We leave our phx-update="ignore" on our canvas to preserve our computed width and height attributes, but move our phx-hook and data attributes to the wrapping div:
<div
  phx-hook="canvas"
  data-particles="<%= Jason.encode!(@particles) %>"
>
  <canvas phx-update="ignore">
    Canvas is not supported!
  </canvas>
</div>
In the mounted callback of our canvas hook, we need to look to the first child of our div to find our canvas element:
mounted() {
  let canvas = this.el.firstElementChild;
  ...
}
Finally, we need to pass a reference to a Phoenix Socket directly into our LiveSocket constructor to be compatible with our new version of phoenix_live_view:
import { Socket } from "phoenix";
let liveSocket = new LiveSocket("/live", Socket, { hooks });
And that’s all there is to it! Our LiveView-powered confetti generator is back up and running with the addition of a small layer of markup. For more information on this update, be sure to check out this issue I filed to try to get clarity on the situation. And I’d like to give a huge thanks to Joxy for doing all the hard work in putting this fix together!